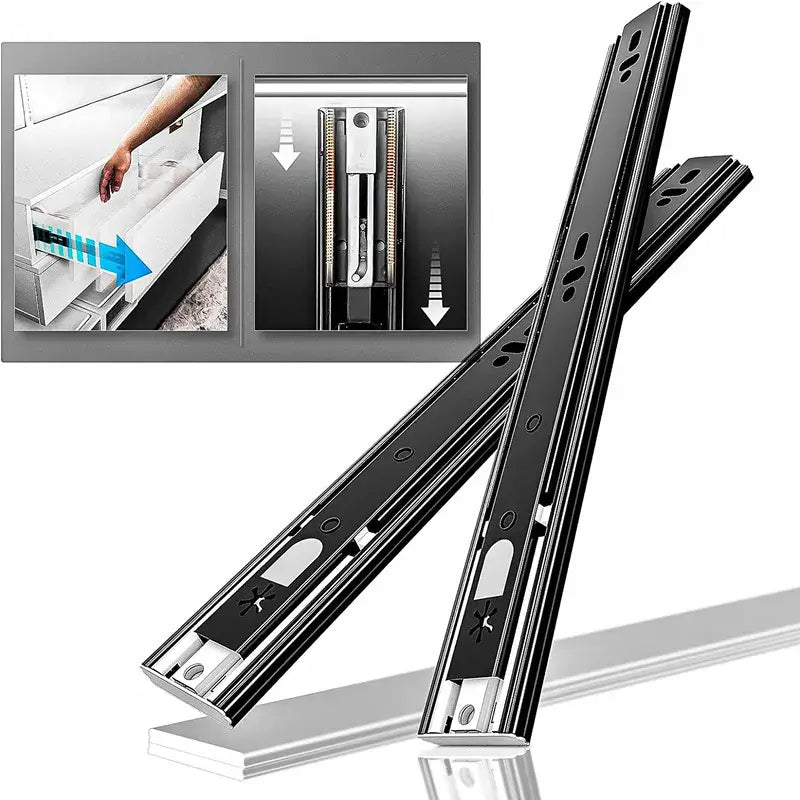


Preparing for Installation
Before installing heavy duty drawer slides, it's important to properly prepare for the process. Taking the time to gather the necessary tools and materials and measure the dimensions of your drawers and cabinets will help ensure a smooth installation. Here are the key steps to prepare for installing heavy duty drawer slides
Gather the Necessary Tools and Materials
Tape measure or ruler
Pencil or marker
Screwdriver or drill
Screws or fasteners (check the manufacturer's recommendations)
Level (optional but recommended for ensuring proper alignment)
Measure the Drawer and Cabinet Dimensions
Measure the height, width, and depth of your drawers and cabinets. This will help you select the appropriate size of heavy duty drawer slides that fit your specific needs.
Record the measurements accurately and keep them handy during the installation process.
Select the Appropriate Heavy Duty Drawer Slides
Consider the weight capacity and extension type required for your drawers.
Ensure that the selected heavy duty drawer slides can accommodate the weight of the items you plan to store in the drawers.
Check the extension type options (e.g., full extension, partial extension, or overtravel) and choose the one that suits your accessibility needs.
Determine the Installation Points
Based on the dimensions and desired positioning, mark the installation points on both the drawers and the cabinets.
a pencil or marker to make clear and visible marks that indicate where the heavy duty drawer slides will be installed.
By following these preparation steps, you'll be ready to proceed with the installation of heavy duty drawer slides. Proper preparation ensures that you have the right tools, accurate measurements, and appropriate slides for your project. This sets the foundation for a successful installation process and ensures that your heavy duty drawer slides function optimally.
Removing Existing Slides (If Applicable)

If you're replacing old or damaged drawer slides with heavy duty ones, you'll need to remove the existing slides first. Here's a step-by-step guide on how to remove existing drawer slides:
Remove the Drawers from the Cabinet
Empty the drawers and remove any items stored inside.
Fully extend the drawers to gain access to the slides.
Lift the front of the drawer slightly, then pull it forward to detach it from the slides.
Set the drawers aside in a safe location.
Inspect the Existing Slides and Hardware
Carefully examine the existing slides for any signs of damage, wear, or rust.
Check the mounting brackets, screws, and other hardware components for stability and integrity.
Make note of any damaged or missing parts that need replacement.
Unscrew and Detach the Old Slides
Locate the screws or fasteners that secure the old slides to the cabinet and the drawer.
Using a screwdriver or drill, remove the screws by turning them counterclockwise.
Once all the screws are removed, carefully detach the old slides from both the cabinet and the drawer.
Clean the Drawer and Cabinet Surfaces
Take the opportunity to clean the surfaces of the drawers and cabinets.
Remove any dust, debris, or residue left behind by the old slides.
Wipe the surfaces with a clean, dry cloth or a mild cleaning solution if needed.
By following these steps, you can successfully remove the existing drawer slides and prepare the drawers and cabinets for the installation of new heavy duty slides. Remember to handle the old slides and hardware with care, and dispose of them properly if they are no longer usable.
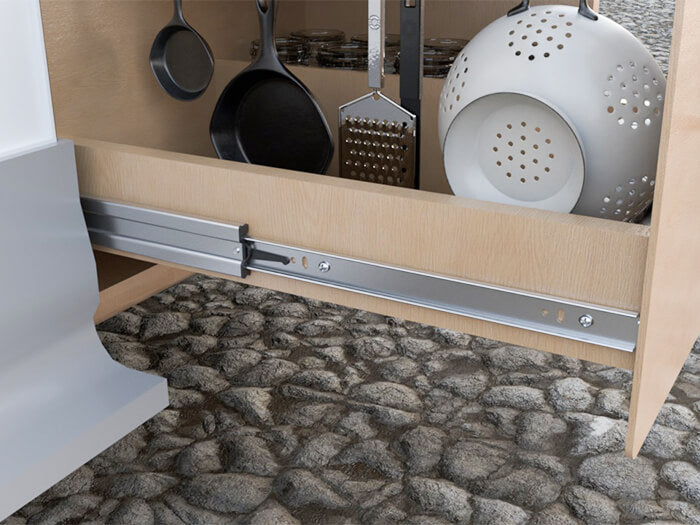
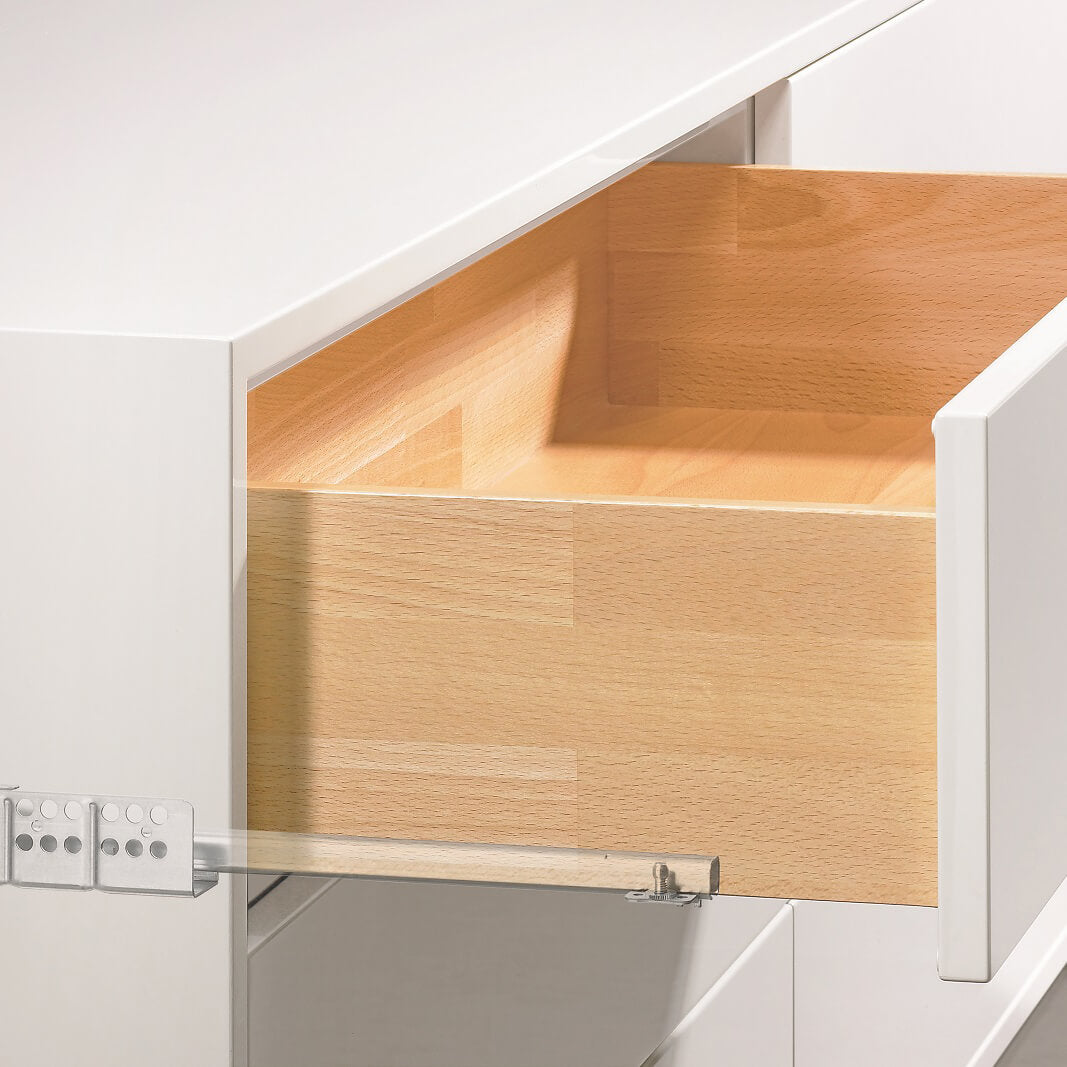
Installing the Cabinet Side Slides
Once you have prepared the drawers and cabinets, it's time to install the heavy duty drawer slides. Here's a step-by-step guide on installing the cabinet side slides:
Position the Cabinet Side Slides
Hold one cabinet side slide against the inside wall of the cabinet, aligning it with the marked installation points.
Ensure that the slide is level both horizontally and vertically using a level.
Mark the screw holes on the cabinet wall with a pencil or marker for accurate placement.
Secure the Cabinet Side Slides
Remove the slide from the cabinet wall and set it aside.
Using a drill or screwdriver, create pilot holes at the marked screw hole locations to prevent splitting or damaging the cabinet material.
Line up the screw holes on the slide with the pilot holes, then secure the slide to the cabinet wall using screws or recommended fasteners.
Repeat the process for the other cabinet side slide, ensuring that it is installed parallel and at the same height as the first slide.
Ensure Proper Alignmen
Slide the cabinet side slides in and out to test their alignment and ensure smooth operation.
Adjust the positioning of the slides if needed, ensuring they are level and parallel to each other.
Make any necessary adjustments to achieve proper alignment before proceeding to the next step.
By following these steps, you can successfully install the cabinet side slides of the heavy duty drawer system. Ensure that the slides are securely fastened to the cabinet walls and that they operate smoothly without any obstructions. This lays the foundation for the installation of the drawer side slides, which will be covered in the next section.
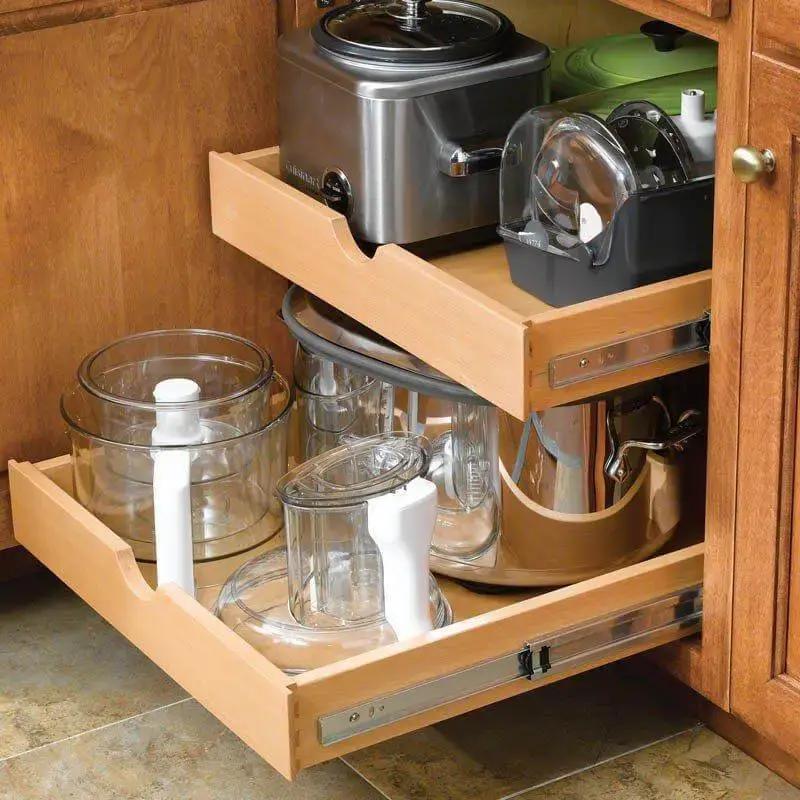
Testing and Adjustments
After installing the heavy duty drawer slides, it's crucial to test their functionality and make any necessary adjustments to ensure smooth and reliable operation. Here's what you need to do:
Slide the Drawers into the Cabinet
Carefully slide the drawers into the cabinet, aligning them with the installed cabinet side slides.
Push the drawers all the way in until they are fully seated on the slides.
Test for Smooth Operation
Slowly open and close each drawer, checking for any resistance or uneven movement.
Ensure that the drawers glide smoothly along the slides without getting stuck or wobbling.
Check for Misalignment or Wobbling
Observe the drawers from various angles to identify any signs of misalignment or wobbling.
If you notice any issues, it may indicate that the slides need adjustment.
Make Necessary Adjustments
To address misalignment or wobbling, adjust the position of the drawer side slides.
Loosen the screws on the drawer side slides and carefully move them horizontally or vertically to achieve proper alignment.
Retighten the screws once the adjustment is complete.
Re-Test the Drawers
Slide the drawers in and out again to test the effectiveness of the adjustments.
Ensure that the drawers operate smoothly and align properly with the cabinet side slides.
By performing these tests and adjustments, you can ensure that your heavy duty drawer slides are installed correctly and provide the desired functionality. It's important to address any issues promptly to avoid future problems and ensure the long-term performance of your drawers.
Reattaching Drawers and Finalizing Installation

Once you have tested the heavy duty drawer slides and made any necessary adjustments, it's time to reattach the drawers and finalize the installation. Follow these steps to complete the process:
Slide the Drawers Back into the Cabinet
Align the drawers with the installed cabinet side slides.
Carefully slide each drawer back into the cabinet, ensuring they glide smoothly along the slides.
Push the drawers all the way in until they are fully seated on the slides.
Securely Attach the Drawers
Depending on the specific heavy duty drawer slide system, there may be additional securing mechanisms or locking features.
Follow the manufacturer's instructions to properly attach and secure the drawers to the slides.
This may involve using screws, brackets, or other recommended methods to ensure the drawers are firmly in place.
Test the Drawers Again
Open and close each drawer multiple times to test their operation.
Ensure that the drawers move smoothly, open fully, and close securely.
Check for any signs of resistance, misalignment, or instability.
Make Final Adjustments (if necessary)
If you encounter any issues during the testing phase, make final adjustments to the slides or drawer alignment as needed.
Ensure that the drawers operate smoothly and align properly with the cabinet side slides.
Finalize the Installation
Once you are satisfied with the operation and alignment of the drawers, finalize the installation by securing any remaining hardware or fasteners.
Double-check that all screws are tightened and that the slides are securely attached to both the drawers and the cabinet.
By following these steps, you can successfully reattach the drawers and complete the installation of heavy duty drawer slides. Take the time to ensure that everything is properly aligned, secured, and functioning as intended. This will help ensure the long-term durability and performance of your drawers.
Additional Tips for Successful Installation

To ensure a successful installation of heavy duty drawer slides, consider the following additional tips:
Follow the manufacturer's instructions: Every heavy duty drawer slide system may have specific installation requirements. Carefully read and follow the instructions provided by the manufacturer to ensure proper installation and optimal performance.
a level: It's important to ensure that the slides are installed level both horizontally and vertically. a level to check the alignment of the slides during the installation process. This will help prevent any issues with drawer operation and alignment.
Consider additional support: For extra stability, you may want to consider using additional support brackets or reinforcements, especially for larger and heavier drawers. These can help distribute the weight more evenly and enhance the overall strength of the drawer system.
Test the weight capacity: Before loading your drawers with heavy items, it's a good idea to test the weight capacity of the installed heavy duty drawer slides. Gradually add weight to the drawers to ensure they can handle the intended load without any issues.
Regular maintenance: Once your heavy duty drawer slides are installed, it's important to perform regular maintenance. This includes cleaning the slides, inspecting for any damage or wear, and lubricating them as needed. Regular maintenance will prolong the lifespan of the slides and ensure smooth operation.
Conclusion
Seek professional assistance if needed: If you are uncertain about the installation process or encounter any challenges, it's advisable to seek professional assistance. An experienced installer or handyman can help ensure a proper and secure installation.
By following these additional tips, you can increase the chances of a successful and long-lasting installation of heavy duty drawer slides. Remember to prioritize safety, read the instructions, and take the necessary precautions throughout the process.
Frequently Asked Questions
What is the Maximum Weight for Drawer Slides?
The maximum weight capacity of drawer slides varies depending on the type and brand. Standard drawer slides typically support around 55 to 100 lbs, while heavyduty ones can handle up to 150 to 500 lbs per pair. It's crucial to check the manufacturer's specifications to ensure you choose slides that can handle the weight of your drawer contents.
How do you Separate Heavy Duty Drawer Slides?
To separate heavy-duty drawer slides, follow these steps:
1. Fully extend the slide to access the release lever or tab.
2. Press the release lever or tab to disengage the lock mechanism.
3. While holding the release, gently pull the drawer away from the cabinet or the slide away from the drawer.
4. Repeat the process for both sides of the drawer to fully separate the slides.