

Drawer slides are an important component that attaches drawers to furniture. Properly installing drawer slides can ensure that the drawer opens and closes smoothly and can withstand weight, thus extending the lifespan of the furniture. This article will discuss how to properly install drawer slides to ensure functionality and durability.

How to Measure Drawer Slides
Before installing drawer slides, you need to measure the dimensions of the drawer and furniture to select the correct slide. Use measuring tools (such as a tape measure) to measure the depth, width, and height of the drawer. Select slides that match the depth and width of the drawer so that they fit perfectly. Also, ensure that the slides you select can support the weight of the drawer, which is typically listed on the packaging as the maximum weight capacity of the slide.
Steps for Installing Drawer Slides
Preparation
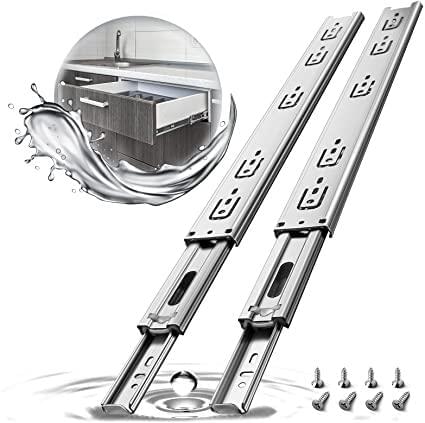
To begin installing drawer slides, you need to prepare some tools and materials:
- drill
- Screws
- screwdriver
- tape measure
- Wooden plugs
Drill - Used to create holes in the furniture or drawer to attach the slides.
Screws - Used to attach the slides to the furniture and drawer.
Screwdriver - Used to turn screws to tighten or loosen them.
Tape measure - Measure the depth, width and height of your drawer to choose the slides that match your drawer
Wooden plugs - Used to cover up any visible holes that were made during the installation process.
Ensure that you have the correct tools and materials so that you can install the drawer slides conveniently.

Cleaning Before Installation
Before installing drawer slides, it's important to properly clean and prepare the surfaces where the slides will be installed. This will ensure that the slides can be securely attached to the drawer and cabinet, and that the drawer will operate smoothly once installed.
Here are some steps to follow when cleaning and preparing drawer and cabinet surfaces for installation:
- Remove any old or existing drawer slides and hardware.
- Clean the surfaces where the new drawer slides will be installed with a damp cloth or sponge to remove any dust, dirt, or debris. Allow the surfaces to dry completely before proceeding.
- Sand the surfaces lightly with sandpaper to create a slightly rough texture. This will help the slides adhere better to the surfaces.
- Apply a thin layer of wood glue to the surfaces where the slides will be installed. This will help to fill in any small imperfections or gaps in the surfaces and provide a stronger bond between the surfaces and the slides.
-
Allow the glue to dry completely before proceeding with the installation of the drawer slides.
By following these steps, you can ensure that your drawer slides will be properly installed and securely attached to your drawers and cabinets, resulting in smooth operation and long-lasting performance.

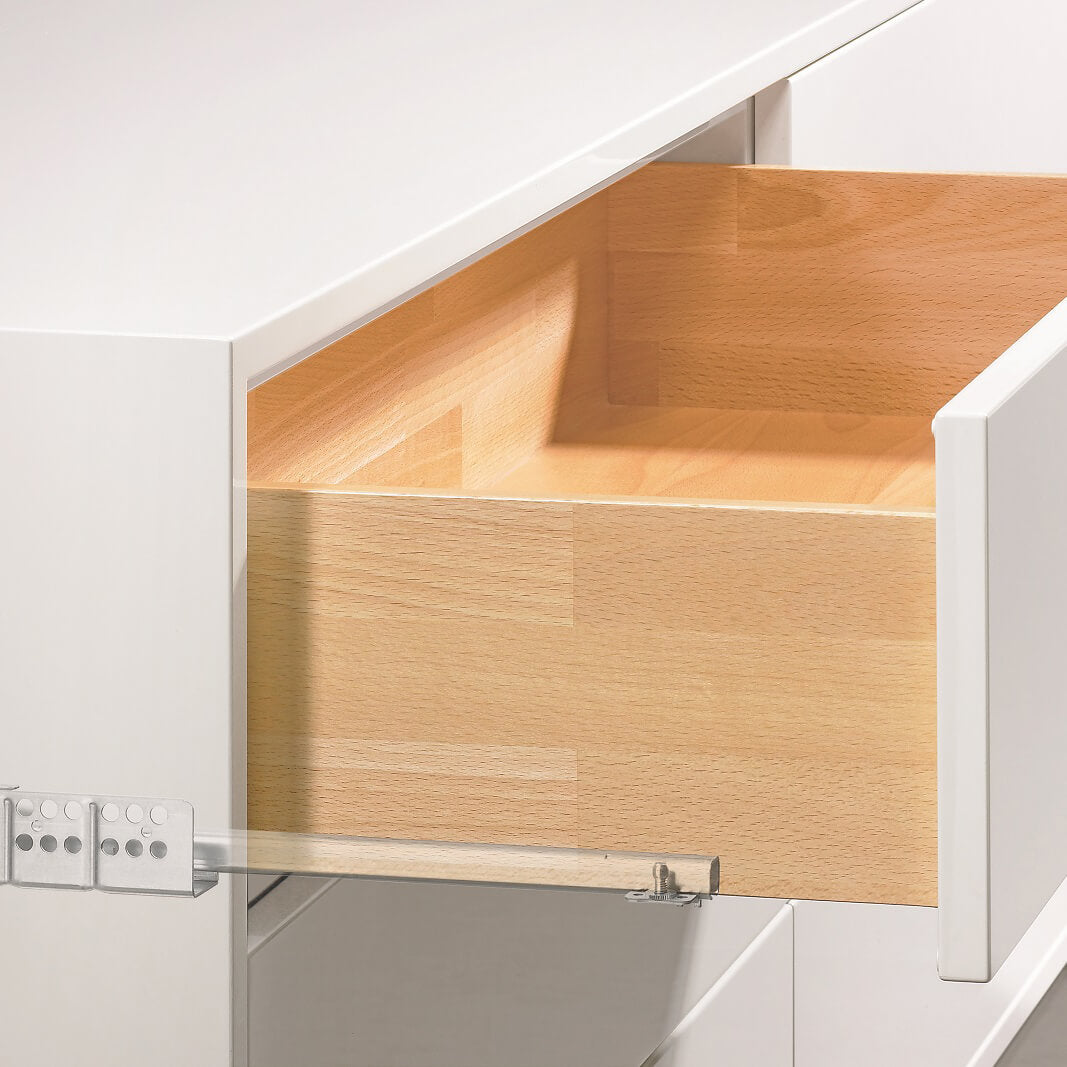
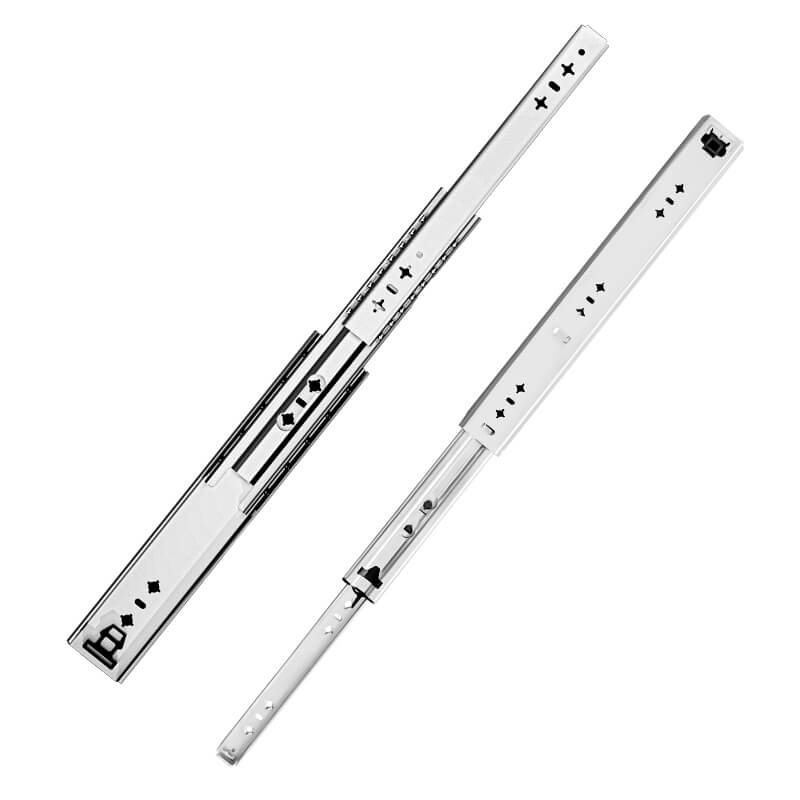
Installing the Side Mount Drawer Slides
Measure and mark the installation location: Use a tape measure to determine the location where you want to install the slide. Use a pencil to mark the location on both the drawer and the cabinet.
Install the drawer-side slide: Attach the slide to the side of the drawer using screws. Make sure the slide is level and flush with the bottom of the drawer.
Install the cabinet-side slide: Use screws to attach the slide to the inside of the cabinet, making sure it is level and aligned with the drawer-side slide.
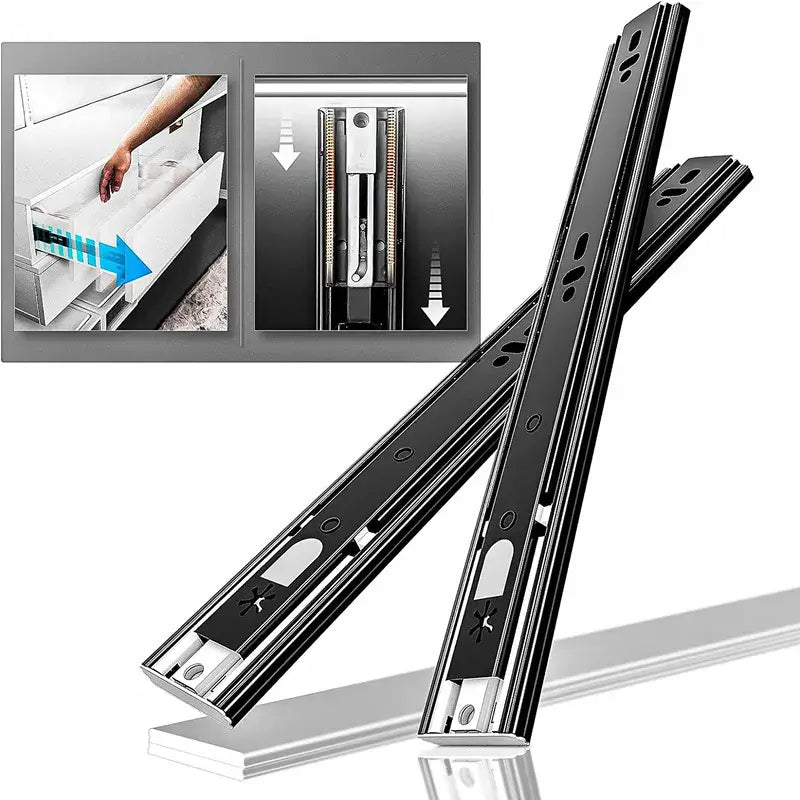
Test the slide: Gently slide the drawer into the cabinet and test the slide. If it doesn't slide smoothly, make any necessary adjustments to the alignment of the slides.
Repeat for the other side: Install the slide on the other side of the drawer using the same method.
Attach the rear mounting brackets: Some drawer slides come with rear mounting brackets that need to be attached to the back of the cabinet. Use screws to attach the brackets, making sure they are level and aligned with the slides.
Test the drawer: Gently slide the drawer into the cabinet and test it again. Make any necessary adjustments to the alignment of the slides or brackets until the drawer slides smoothly in and out of the cabinet.
That's it! Following these steps will ensure that your side-mounted drawer slide is installed correctly and functions smoothly.
Frequently Asked Questions
What should I do if the drawer slide is too long for my cabinet?
If the drawer slide is too long for your cabinet, you can use a saw to cut it to the correct size. Before cutting, be sure to measure the length needed carefully and mark the line where you will cut. After cutting, make sure to sand down any rough edges and clean the area to remove any debris.
How do I know if I have installed the drawer slides correctly?
After installing the drawer slides, test the drawer to see if it opens and closes smoothly. Make sure there is no resistance or wobbling. Also, check that the drawer is level and sits flush with the cabinet. If there are any issues, you may need to adjust the slides or reinstall them
Conclusion
In summary, correctly installing drawer slides is an essential part of furniture assembly. Properly installed drawer slides ensure that drawers open and close smoothly and can withstand weight, extending the life of the furniture.