Smoothly operating drawers are essential for the convenience and functionality of cabinets, dressers, and various pieces of furniture. However, over time, the drawer slides that enable this smooth movement can become worn and problematic, causing frustration when trying to access your belongings. In this guide, we will delve into the art of making old drawer slides easier, reviving the functionality of your furniture and saving you the expense of completely replacing the slides.
Old drawer slides often exhibit issues like sticking, wobbling, or rough movement, which can disrupt your daily routines and make organization a challenge. Fortunately, there are practical steps you can take to address these problems and restore your drawers to their former ease of use. Whether you're dealing with antique furniture or simply looking to extend the life of your existing drawers, the techniques and tips we'll explore in this article will prove invaluable.
In the following sections, we'll begin by understanding the common problems that afflict old drawer slides and how to assess their condition. Then, we'll explore a range of solutions, from cleaning and lubrication to adjustments and even upgrading to new slides. By the end of this guide, you'll be equipped with the knowledge and techniques needed to breathe new life into your old drawer slides, making them easier and more enjoyable to use. Say goodbye to sticky drawers and hello to a smoother, more efficient storage solution.
Understanding the Common Issues with Old Drawer Slides

Before you embark on the journey of making your old drawer slides easier to use, it's crucial to familiarize yourself with the common problems that can plague these components. Recognizing these issues will help you diagnose and address them effectively. Here are some of the most frequent problems associated with old drawer slides:
Sticking and Resistance
Sticky Drawers: Old slides often accumulate dust, dirt, or old lubricant, causing drawers to stick when opening or closing.
Resistance: Increased friction due to wear and tear can make drawers harder to move, requiring more effort to open or close.
Misalignment
Wobbling Drawers: Over time, drawer slides may become misaligned, resulting in drawers that wobble or don't close properly.
Noise and Grinding
Noisy Operation: Old drawer slides can produce irritating noises, such as squeaking, creaking, or grinding, when in use.
Limited Extension
Partial Extension: Some older slides may not allow drawers to fully extend, limiting access to the drawer's contents.
Loose Hardware
Loose Screws and Bolts: Hardware that secures the slides to the cabinet or drawer may become loose, affecting stability and functionality.
Wear and Tear
General Wear: As with any mechanical component, drawer slides can wear down over time, resulting in reduced performance and reliability.
Understanding these common issues will guide you in identifying the specific problems your old drawer slides are experiencing. With this knowledge, you can proceed to evaluate the condition of your slides and determine the most appropriate solutions for making them easier to use.
Assessing the Condition of Your Old Drawer Slides
Before you can effectively improve the performance of your old drawer slides, you need to evaluate their current condition. This assessment will help you determine the extent of the issues and whether simple maintenance or replacement is necessary. Here's how to assess the state of your old drawer slides:
Visual Inspection
Remove the Drawer: Begin by removing the drawer from the cabinet or piece of furniture. This will provide you with better access to the slides.
Examine the Slides: Inspect the drawer slides carefully for visible signs of wear, rust, or damage. Look for any loose screws or bolts holding the slides in place.
Testing for Stickiness and Resistance
Slide the Drawer: Gently slide the drawer in and out along the old slides. Pay attention to any resistance or sticking points. Note if it requires extra effort to open or close.
Listen for Noises: While operating the drawer, listen for any unusual noises, such as squeaking, grinding, or creaking sounds. These may indicate issues with friction or misalignment.
Check for Misalignment
Drawer Alignment: Observe the alignment of the drawer within the cabinet. Is it level and properly positioned? Misaligned drawers can result from issues with the slides.
Drawer Stability: Test the stability of the drawer. Does it wobble or feel loose when fully extended? A wobbly drawer may be a sign of misaligned or damaged slides.
Evaluate Extension
Drawer Extension: Assess whether the drawer fully extends as it should. Some old slides may limit the drawer's extension, which can be inconvenient.
Inspect Hardware
Tightness of Hardware: Examine the screws, bolts, and other hardware that secure the drawer slides to the cabinet and drawer. Check for any loose or missing fasteners.
By conducting a thorough assessment using these steps, you'll gain a clearer understanding of the condition of your old drawer slides. This information will guide you in deciding whether cleaning, lubrication, and adjustments are sufficient to restore functionality or if it's necessary to consider upgrading to new drawer slides. Proper assessment ensures that your efforts are targeted and effective in making your old drawer slides easier to use.
Cleaning and Lubricating Old Drawer Slides

Cleaning and lubricating old drawer slides is often the first step in rejuvenating their functionality. Dust, dirt, and the accumulation of old lubricant can contribute to sticking and resistance. Here's how to clean and lubricate your old drawer slides effectively:
Cleaning Old Drawer Slides
Remove the Drawer: Start by removing the drawer from the cabinet or furniture. This will allow easy access to the slides.
Clean the Slides: Use a soft, lint-free cloth or a paper towel to wipe away loose dirt and debris from the drawer slides. Ensure that you reach all parts of the slides.
Use a Mild Cleaner: For more stubborn grime, consider using a mild cleaner. A mixture of warm water and a gentle dish soap or a dedicated wood cleaner can work well. Avoid abrasive cleaners that could damage the slides.
Scrub Gently: If needed, use a soft-bristle brush or an old toothbrush to gently scrub the slides. Pay special attention to corners and crevices where dirt tends to accumulate.
Rinse and Dry: After cleaning, wipe down the slides with a damp cloth to remove any residue from the cleaner. Then, dry them thoroughly with a clean, dry cloth.
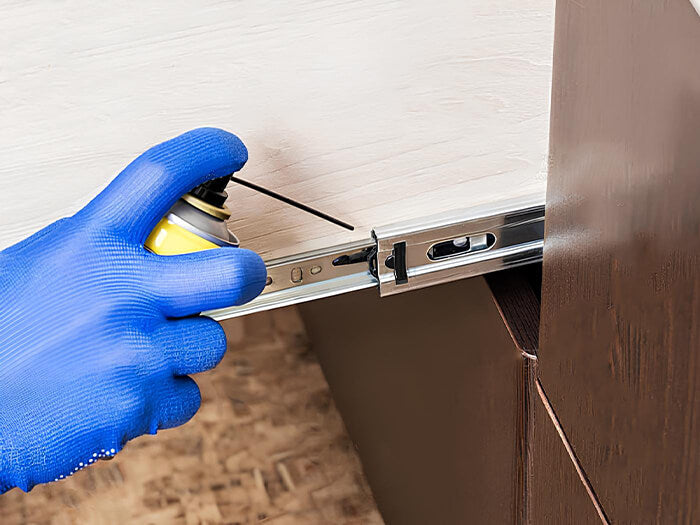
Lubricating Old Drawer Slides
Select the Right Lubricant: Choose an appropriate lubricant for your drawer slides. Silicone-based or Teflon-based lubricants are ideal for wooden slides, while ball-bearing slides benefit from specialized lubricants designed for them. Avoid using household oils or grease, as they can attract dust and debris over time.
Apply the Lubricant: Apply a thin, even layer of lubricant to the drawer slides. You can use a cloth, a disposable foam brush, or a q-tip for precise application. Ensure you cover the entire length of the slide.
Slide the Drawer: Slide the drawer in and out several times to distribute the lubricant evenly. This will help to work the lubricant into the slide mechanisms.
Wipe Excess Lubricant: After sliding the drawer back and forth, wipe away any excess lubricant with a clean cloth. Leaving too much lubricant can attract dust and lead to future issues.
Reassemble the Drawer: Once you're satisfied with the smoothness of the operation and the cleanliness of the slides, reassemble the drawer into the cabinet or furniture.
By cleaning and lubricating your old drawer slides, you can often restore them to a functional state, eliminating sticking and resistance. This simple maintenance routine can significantly extend the life of your existing slides and make them easier to use. However, if cleaning and lubrication do not fully address the issues with your drawer slides, further adjustments or replacement may be necessary.
Adjusting Old Drawer Slides for Better Performance
Sometimes, old drawer slides may require adjustments to operate smoothly. These adjustments can address misalignment, wobbling, or other issues that affect drawer functionality. Here's how to adjust old drawer slides for improved performance:
Realigning Drawer Slides
Remove the Drawer: Start by removing the drawer from the cabinet or furniture. This provides better access to the slides.
Inspect for Misalignment: Carefully examine the alignment of the drawer slides. Misalignment can lead to sticking or wobbling. Identify which parts need adjustment.
Loosen Mounting Screws: If misalignment is evident, slightly loosen the mounting screws that secure the slides to the cabinet or drawer. Do not remove the screws entirely.
Adjust Position: Gently shift the misaligned slide horizontally or vertically to align it correctly. Use a level or square to ensure precise alignment.
Tighten Screws: Once the slide is properly aligned, tighten the mounting screws securely. Confirm that the slide remains in the correct position.
Tightening Drawer Slide Screws
Inspect for Loose Hardware: Check the screws and bolts that secure the drawer slides to the cabinet and drawer. If any are loose or missing, tighten or replace them as needed.
Use Proper Tools: Ensure you're using the right screwdriver or drill bit to tighten the hardware effectively. Over-tightening can strip the holes or damage the slides, so exercise caution.
Testing the Drawer
Slide the Drawer: Reinsert the drawer into the cabinet and slide it in and out several times. Verify that the adjustments have improved the operation of the drawer slides.
Listen for Noises: Pay attention to any remaining noises or sticking points. If issues persist, further adjustments or lubrication may be necessary.
Fine-Tune if Needed: If you encounter persistent problems, such as slight wobbling or sticking, continue to adjust the slides as needed until you achieve smooth, noise-free operation.
By carefully aligning and adjusting your old drawer slides, you can often resolve issues related to misalignment or instability. These adjustments are crucial for ensuring that your drawers open and close seamlessly, restoring their ease of use. However, if problems persist despite adjustments, it may be time to consider upgrading to new drawer slides for a more permanent solution.
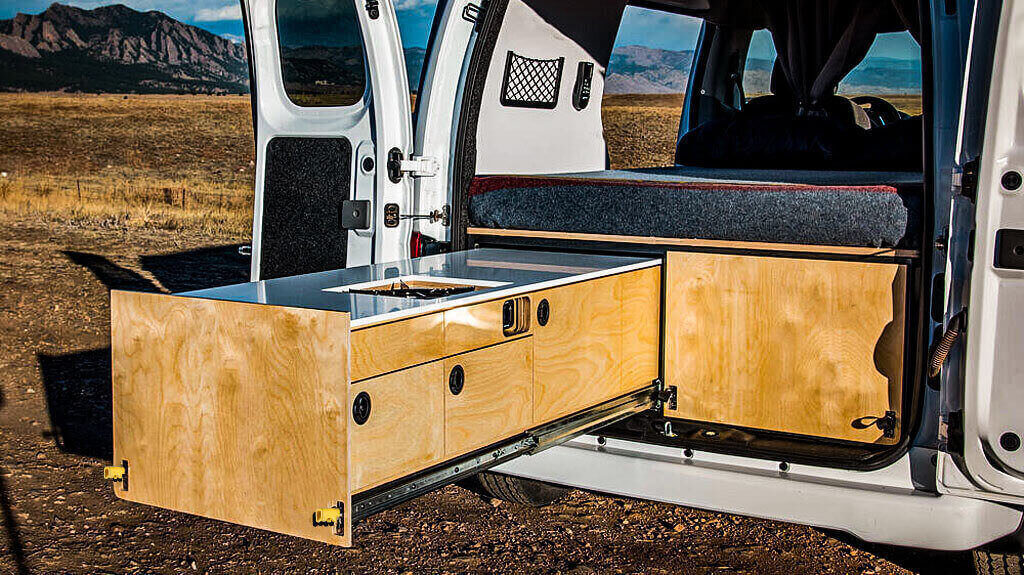
Upgrading Old Drawer Slides

When cleaning, lubricating, and adjusting old drawer slides aren't sufficient to achieve the desired improvement in performance, it may be time to consider upgrading to new drawer slides. This can be a more comprehensive solution to make your drawers easier to use. Here's how to upgrade old drawer slides effectively:
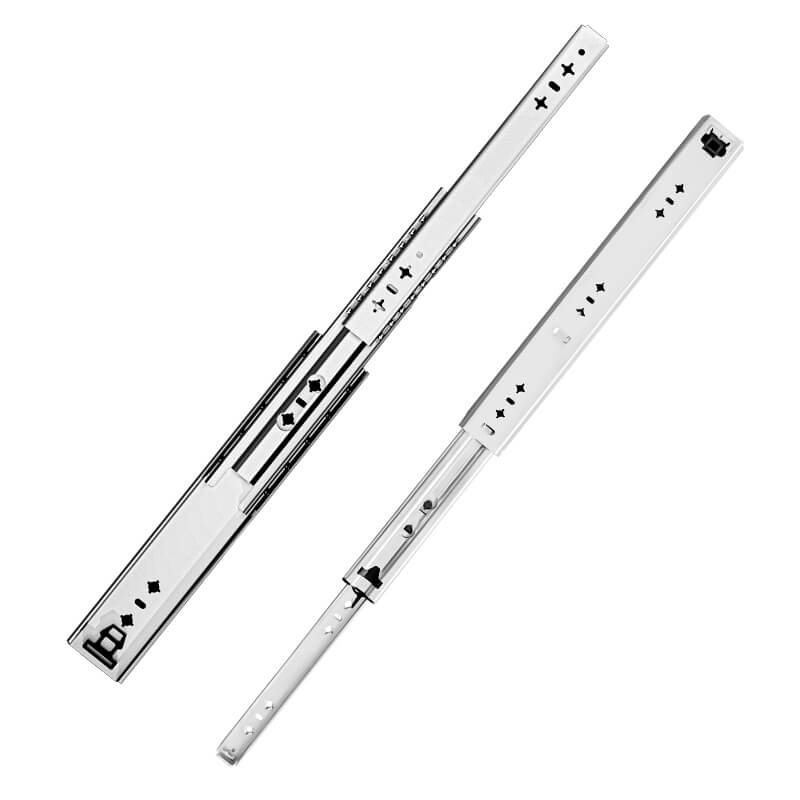
Choosing Replacement Drawer Slides
Determine Slide Type: Decide whether you want to replace your old slides with the same type (side mount or undermount) or if you'd like to switch to a different type for improved functionality or aesthetics.
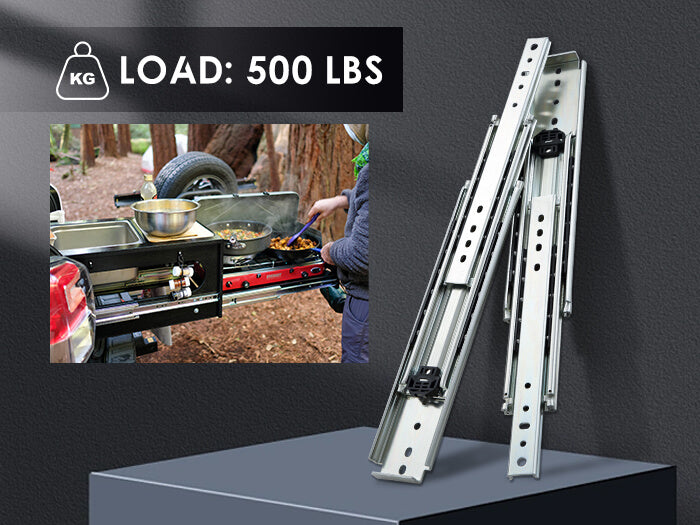
Consider Load Capacity: Assess the weight-bearing capacity required for your drawers. Select replacement slides that can accommodate the expected load.
Choose Slide Length: Measure the length of your existing drawer slides and choose replacements of the same length or slightly longer. Ensure they fit your drawer and cabinet dimensions.
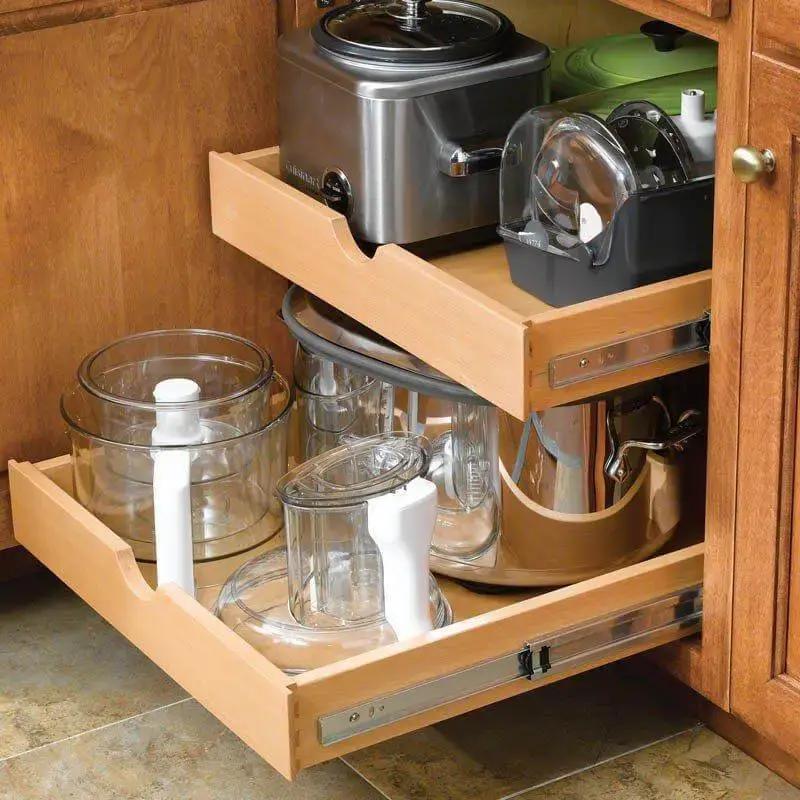
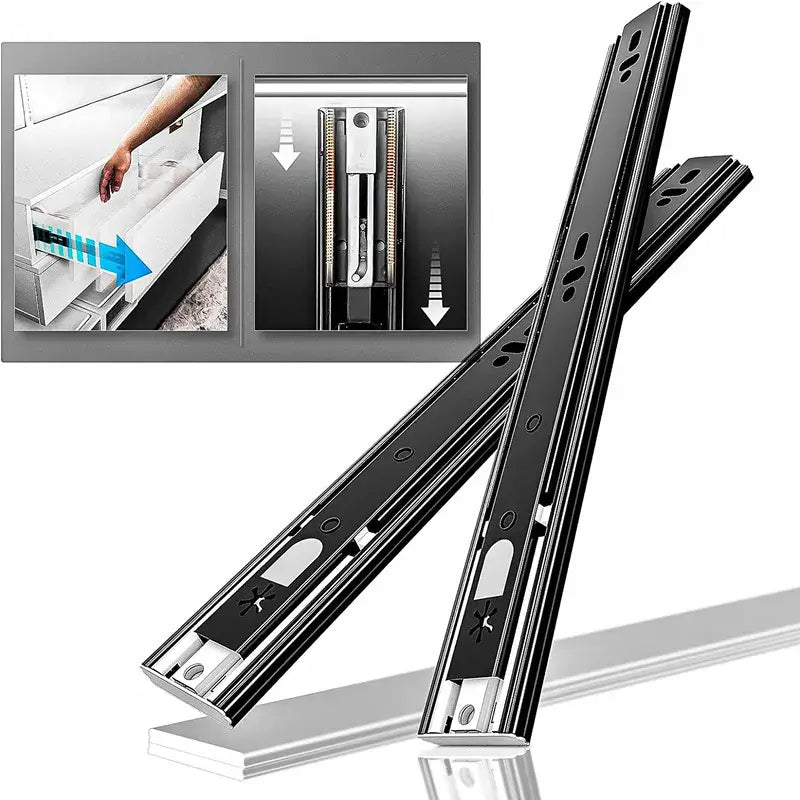
Explore Advanced Features: Modern drawer slides often come with advanced features like soft-closing mechanisms, push-to-open functionality, or full-extension capability. Consider if these features align with your preferences.
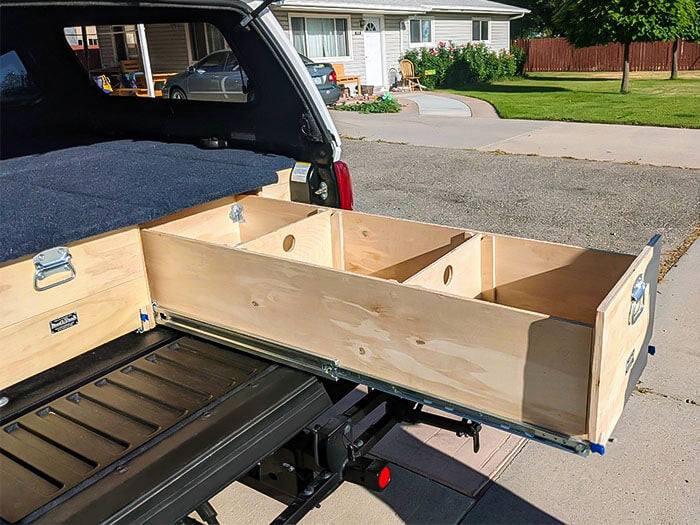
Installing New Drawer Slides
Remove the Old Slides: Start by removing the old, worn-out drawer slides from both the cabinet and the drawer. This may involve unscrewing or unclipping them, depending on the type.
Clean and Prepare: While the drawer is removed, take the opportunity to clean and prepare both the drawer and the cabinet as outlined in the "Preparing the Drawer and Cabinet" section of the guide.
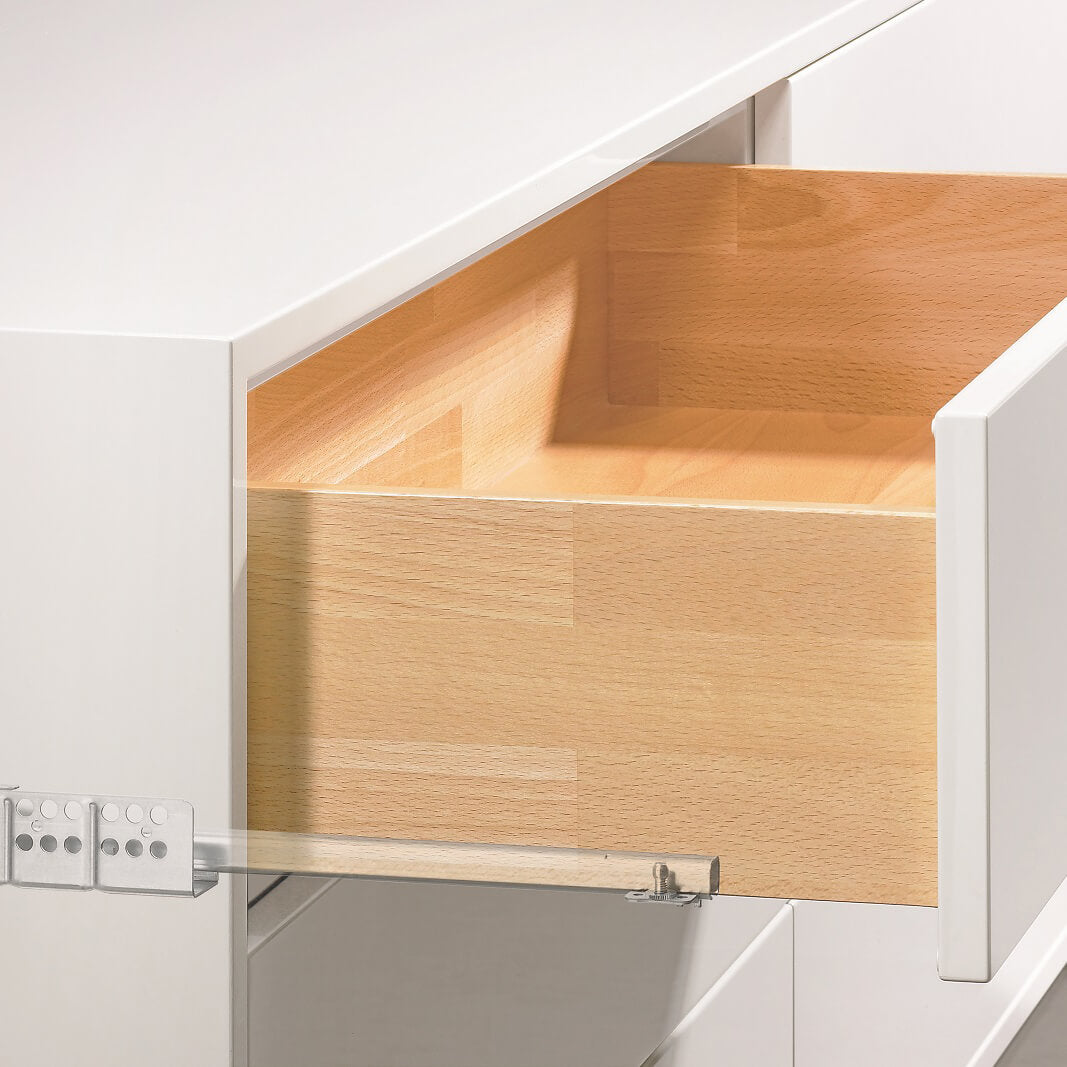
Install the New Slides: Follow the manufacturer's instructions to install the new drawer slides. Ensure they are level, properly aligned, and securely attached.
Test the Drawer: Slide the drawer back into the cabinet with the new slides and test its operation. Ensure that it opens and closes smoothly, without sticking or wobbling.
Check for Alignment: Use a level and square to confirm that the drawer and slides are perfectly level and aligned both horizontally and vertically.
Final Adjustments and Maintenance
Fine-Tune if Needed: If you encounter any minor alignment issues or sticking points after installation, make the necessary adjustments as described in the "Adjusting Old Drawer Slides for Better Performance" section.
Maintenance Considerations: To ensure the longevity of your new drawer slides, establish a regular maintenance routine. Periodically clean and lubricate them to prevent future issues.
Upgrading to new drawer slides can provide a long-term solution for improving the functionality of your drawers. Whether you're enhancing an old piece of furniture or outfitting a new project, choosing the right replacement slides and installing them correctly will result in drawers that are easier to use and more reliable for years to come.
Conclusion
Reviving old drawer slides to make them easier to use is a rewarding endeavor that can extend the life of your furniture and enhance your daily routines. By understanding the common issues that affect old drawer slides and conducting a thorough assessment, you can determine the most effective course of action, whether it's cleaning, lubricating, adjusting, or upgrading.
Cleaning and lubricating old drawer slides can often restore them to a functional state, eliminating sticking and resistance. Adjustments, such as realignment and tightening loose hardware, can further improve their performance. However, when old drawer slides have reached the end of their lifespan or require significant repairs, upgrading to new slides is a practical and long-lasting solution.
Choosing the right replacement drawer slides based on factors like slide type, load capacity, and advanced features ensures that your drawers will operate smoothly and reliably. Proper installation and regular maintenance help preserve the functionality of the new slides, ensuring that your furniture remains user-friendly for years to come.
Incorporating these techniques into your woodworking projects or furniture restoration efforts will not only make your drawers easier to use but also add value to your creations. Enjoy the convenience of seamlessly gliding drawers and the satisfaction of breathing new life into your old furniture pieces. With the knowledge and skills acquired from this guide, you're well-equipped to tackle the challenges of aging drawer slides and enjoy the benefits of improved functionality and organization.
Frequently Asked Questions
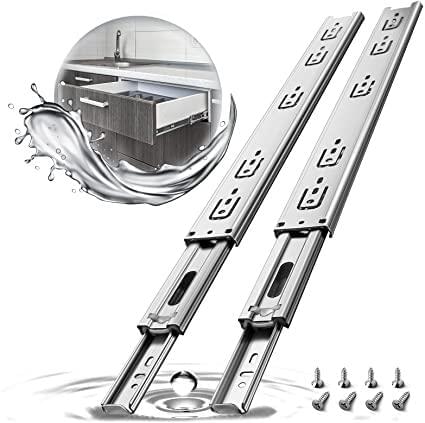
Where to Buy Heavy Duty Drawer Slides?
When it comes to optimizing your storage solutions, heavy duty drawer slides are the unsung heroes that ensure smooth and reliable operation, even under substantial weight loads. Whether you're a DIY enthusiast or a professional in search of the perfect hardware components, the quality and durability of heavy duty drawer slides matter. So, where can you find these essential components to elevate your projects?
How Do You Release Locking Drawer Slides?
To release locking drawer slides, follow these steps:
Empty the drawer.
Partially extend the drawer.
Locate the locking mechanism on the slides.
Release the mechanism by pressing, pushing, or lifting as needed.
Gently push or pull the drawer to release it.
Slide the drawer out carefully.
learn more How Do You Release Locking Drawer Slides?