
When it comes to the functionality and longevity of your cabinets and furniture, securing drawer slides properly is an essential step in the assembly process. Drawer slides, also known as drawer glides, are the mechanisms that allow your drawers to slide in and out smoothly. Whether you're embarking on a DIY project or a professional furniture installation, understanding how to secure drawer slides effectively is crucial.
This comprehensive guide will walk you through the necessary steps, tools, and tips for securely attaching drawer slides, ensuring your drawers operate seamlessly and stand the test of time. We'll cover everything from preparation and choosing the right drawer slides to the actual installation process and additional security measures.
By the end of this article, you'll have the knowledge and confidence to tackle drawer slide installation with ease. Whether you're outfitting a brand-new kitchen, upgrading existing furniture, or just looking to improve the functionality of your drawers, the insights shared here will help you achieve your goals.
So, let's dive into the world of drawer slide installation and discover how to ensure your cabinets and furniture are not only visually appealing but also highly functional.
Tools and Materials Needed

Before you begin securing drawer slides, it's essential to gather the right tools and materials to ensure a successful installation. Here's a list of what you'll need:
Tools:
Screwdriver: A screwdriver with the appropriate head (usually Phillips or flathead) for the screws you'll be using.
Drill: A power drill is highly recommended for making pilot holes and driving screws more efficiently.
Measuring Tape: A measuring tape helps ensure precise placement of drawer slides.
Level: A level ensures that your drawer slides are installed perfectly horizontal and level for smooth operation.
Pencil or Marker: Use a pencil or marker to make markings on the cabinet and drawer for accurate installation.
Square: A square helps ensure that your drawer slides are installed at right angles, which is crucial for proper alignment.
Safety Equipment: Safety glasses and gloves are important for protecting your eyes and hands during the installation process.
Materials:
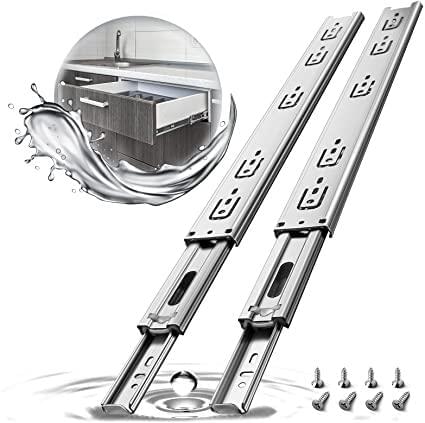
Drawer Slides: Choose the appropriate type and size of drawer slides for your project, considering factors like load capacity, extension type, and self-closing features.
Screws: High-quality screws of the correct length for securing the slides to the cabinet and drawer. Ensure they are compatible with the chosen drawer slides.
Shims or Spacers: These are used to ensure proper spacing and alignment when attaching the drawer slides. They help prevent misalignment issues.
Drawer Stops or Locks (Optional): Depending on your project and preferences, you may want to add stops or locks to prevent overextension or accidental opening of drawers.
Lubricant or Drawer Slide Wax (Optional): Lubricant or wax can be used to keep the drawer slides running smoothly and reduce friction over time.
Ensure that you have all these tools and materials ready before you start the installation process. Proper preparation and having the right equipment on hand will make securing drawer slides more efficient and result in a well-functioning and reliable setup.
Preparing the Drawer and Cabinet
Before you dive into securing your drawer slides, it's crucial to prepare both the drawer and the cabinet to ensure a smooth installation process. Proper preparation sets the foundation for a secure and functional drawer slide system.
Preparing the Drawer:
Empty the Drawer
Remove Contents: Begin by emptying the contents of the drawer completely. This includes any items, dividers, or organizers that may be inside.
Clean the Drawer: Take the opportunity to clean the inside of the drawer thoroughly. Remove any dust, debris, or residue that may have accumulated.
Inspect the Drawer
Check for Damage: Examine the drawer for any damage or defects. Look for cracks, splits, or warped wood. If you discover any issues, address them before proceeding.
Ensure Smooth Operation: Test the drawer's existing slides, if applicable. Ensure that the drawer operates smoothly and without sticking.
Preparing the Cabinet:
Empty and Clean the Cabinet
Empty the Cabinet: Clear out the cabinet where the drawer will be installed. Removing items from the cabinet provides you with a clean and clutter-free workspace.
Clean the Cabinet: Clean the interior of the cabinet, removing any dust, debris, or foreign particles. A clean surface will make it easier to work and ensure a secure attachment for the drawer slides.
Measure and Mark*
Measure and Mark: Use a measuring tape, pencil, and level to measure and mark where the drawer slides will be installed in the cabinet. Take precise measurements to ensure accurate placement.
Check for Level and Square: Use a level to confirm that your markings are level horizontally and vertically. Use a square to ensure that your lines are perfectly perpendicular.
Properly preparing both the drawer and the cabinet helps prevent issues during the installation process. It ensures that your drawer slides will be correctly aligned and securely attached, resulting in a drawer that operates smoothly and reliably. With your preparations complete, you're now ready to move on to the installation of the drawer slides.
Choosing the Right Drawer Slides

Selecting the appropriate drawer slides for your project is a critical step in ensuring the functionality and longevity of your drawers. The right choice depends on various factors, including the type of project, load requirements, and personal preferences. Here's a guide on how to choose the right drawer slides:
Factors to Consider When Choosing Drawer Slides:
Project Type and Design
Cabinet Style: Consider the style of your cabinet or furniture piece. Different styles may call for different types of drawer slides to complement the design.
Aesthetic Preferences: Think about the overall look you want to achieve. Some drawer slides are designed to be concealed, providing a minimalist appearance, while others are visible and may fit better with traditional designs.
Functionality and Use
Load Capacity: Determine the weight-bearing capacity required for your drawers. Heavy-duty slides are suitable for items like pots and pans, while lighter-duty slides are ideal for clothing or office supplies.
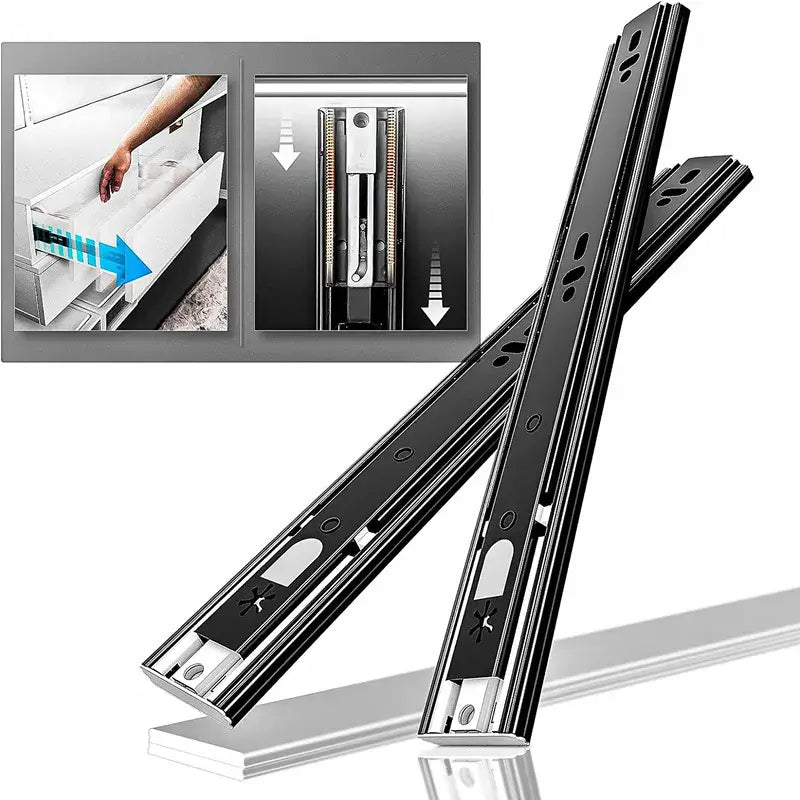
Extension Type: Choose between full extension or partial extension slides. Full extension slides allow the entire drawer to be accessible, while partial extension slides may leave some contents hidden in the back.
Self-Closing Feature: Decide if you want drawer slides with a self-closing mechanism. These slides automatically pull the drawer closed, which can be convenient for kitchen cabinets or drawers that should always remain shut.
Drawer and Cabinet Dimensions
Drawer and Cabinet Size: Measure the dimensions of your drawer and cabinet accurately. Drawer slides should be compatible with these measurements to ensure a proper fit.
Installation Skill Level
DIY vs. Professional Installation: Consider your own woodworking skills and whether you'll be handling the installation yourself or hiring a professional. Some drawer slides are easier to install than others, so choose accordingly.
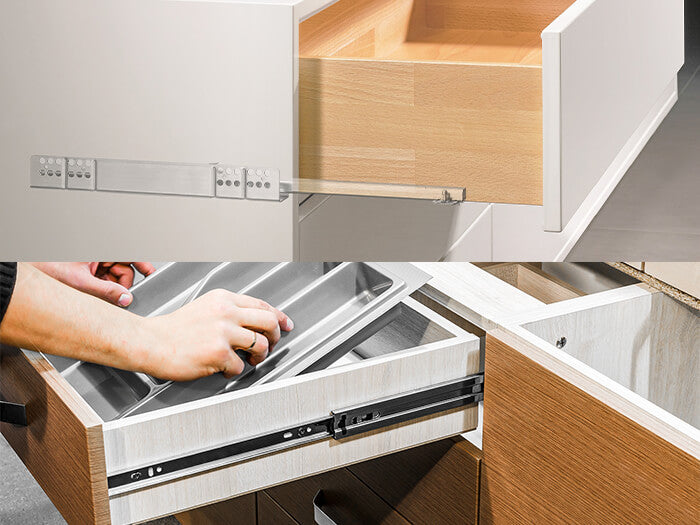
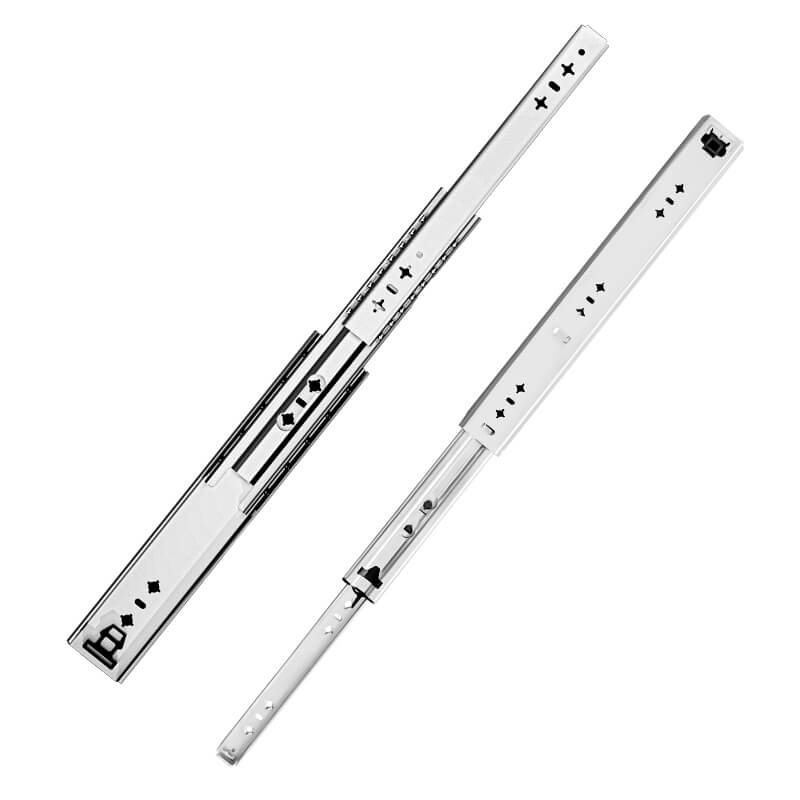
Comparing Drawer Slide Types:
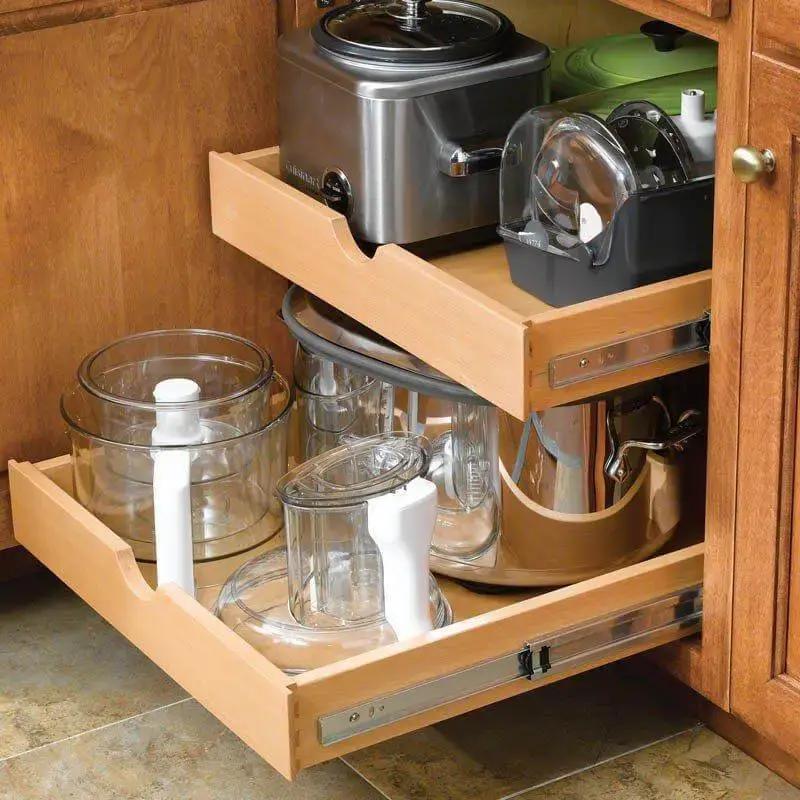
Advantages: Side mount slides are versatile, easy to install, and budget-friendly. They work well with various cabinet styles and are suitable for DIY projects.
Considerations: They may be noisier during operation, have limited extension, and may not handle as heavy a load as undermount slides.
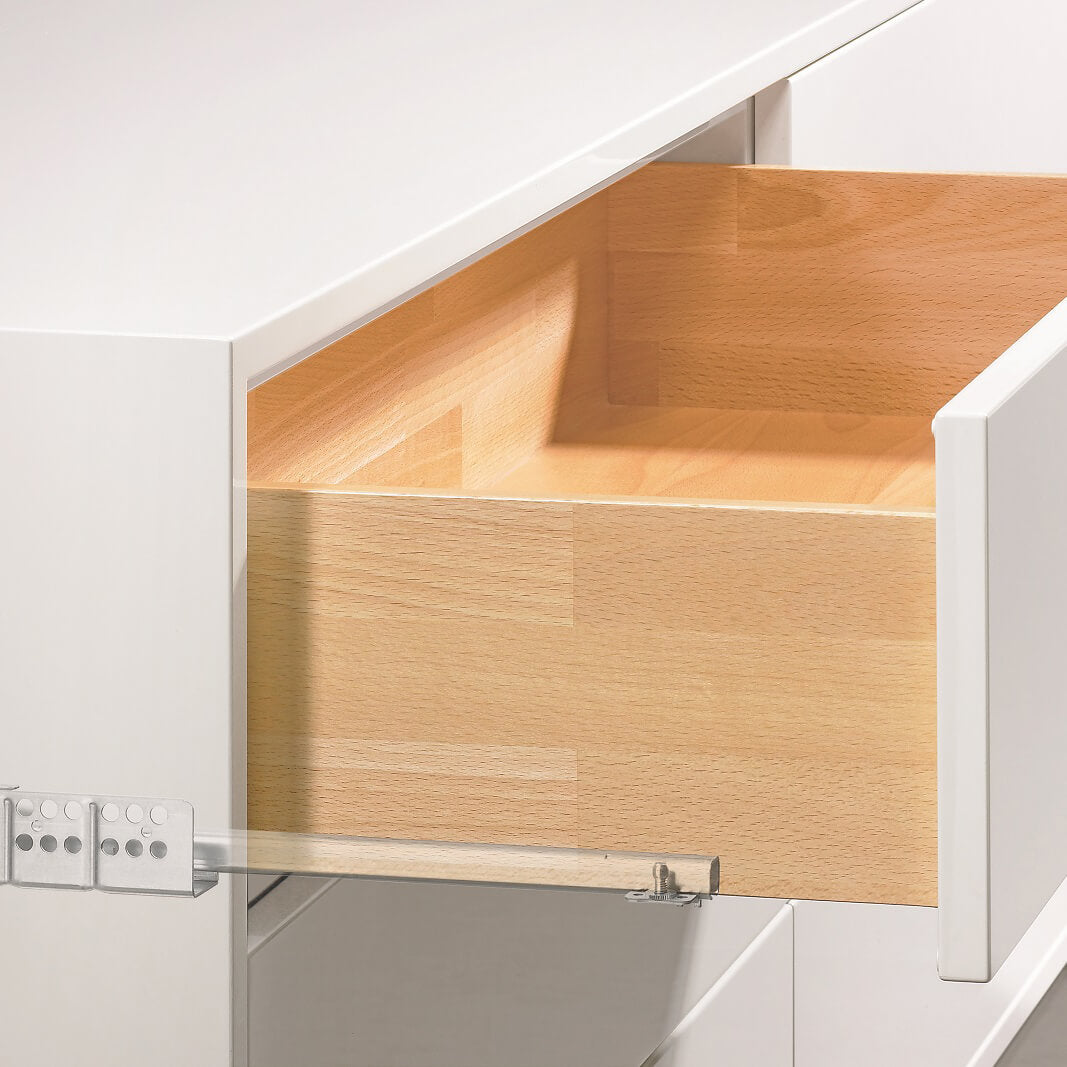
Advantages: Undermount slides offer a sleek appearance, smooth and silent operation, full extension, and increased weight capacity. They are ideal for modern designs and high-use areas like kitchens.
Considerations: They are pricier and require more precise installation, making them suitable for projects with specific design requirements.
Making the Decision
Prioritizing Your Needs
Prioritize aesthetics and seamless design with undermount slides for modern, minimalist projects.
Emphasize functionality and ease of use with undermount slides for high-traffic areas.
Stay within budget constraints with side mount slides.
Consider your DIY skills and installation preferences.
Balance the pros and cons of each slide type to align with your project goals.
By carefully considering these factors and weighing your priorities, you can make an informed decision when choosing the right drawer slides for your specific project. Whether you opt for the sleek sophistication of undermount slides or the practicality of side mount slides, your drawers will function effectively and enhance the overall appeal of your furniture or cabinetry.
Installing the Drawer Slides
Once you've prepared the drawer and cabinet and chosen the right drawer slides for your project, it's time to move on to the installation process. Proper installation ensures that your drawers will glide smoothly and securely. Here's a step-by-step guide on how to install drawer slides:
Attaching the Cabinet Rails
Position the Cabinet Rails: Start by positioning the cabinet rails or brackets inside the cabinet according to the markings you made during the preparation phase. Ensure they are level and aligned.
Make Pilot Holes: Use your drill to create pilot holes for the screws. Pilot holes help prevent the wood from splitting when you drive in the screws. Make sure the holes are in the correct locations based on your markings.
Secure the Cabinet Rails: Attach the cabinet rails securely using screws. Be careful not to overtighten, as this can cause damage. Confirm that the rails are level and firmly in place.
Attach the Drawer Slides to the Drawer: Align the drawer slides with the markings you made on the sides of the drawer. Use screws to secure the slides to the drawer. Ensure that the slides are parallel and level on both sides of the drawer.
Use Shims or Spacers (if needed): In some cases, you may need to use shims or spacers to ensure that the slides are perfectly aligned. These shims can help prevent misalignment issues during operation.
Check for Smooth Movement: Carefully slide the drawer into the cabinet, allowing it to glide on the installed cabinet rails. Check for smooth and even movement. If you encounter resistance or any issues, remove the drawer and adjust the slides as necessary.
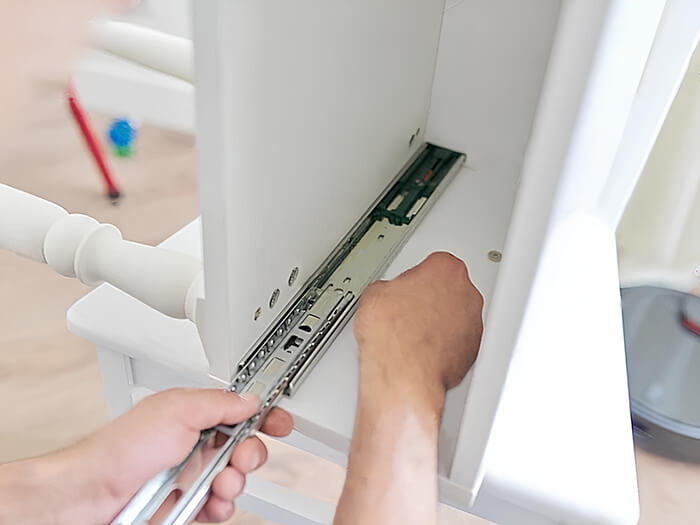
Secure the Slides to the Cabinet: Once you're satisfied with the alignment and smooth movement, secure the slides to the cabinet using screws. Ensure that the slides are firmly attached but not overtightened.
Test the Drawer: Test the drawer several times to ensure that it opens and closes smoothly. Listen for any unusual noises or signs of misalignment.
Final Checks and Adjustments
Make Any Necessary Adjustments: If you encounter any issues during testing, such as misalignment or tight spots, make the necessary adjustments. This may involve loosening screws and realigning the slides.
Check for Level and Alignment: Use your level and square to double-check that the drawer and slides are perfectly level and aligned both horizontally and vertically.
Secure Additional Screws (if needed): Depending on the type of slides and the manufacturer's instructions, you may need to secure additional screws in specific locations to ensure stability.
By following these steps carefully and paying attention to alignment and smooth movement, you can secure your drawer slides effectively. Proper installation is essential for the functionality and durability of your drawers, ensuring they operate smoothly and securely for years to come.
Testing and Adjusting
After installing your drawer slides, it's crucial to thoroughly test them to ensure they operate smoothly and without any issues. Testing and making necessary adjustments are essential steps in achieving a well-functioning and reliable drawer slide system. Here's how to test and adjust your drawer slides:
Testing the Drawer
Slide the Drawer In and Out: Begin by sliding the drawer in and out of the cabinet several times. Pay attention to how smoothly it operates and whether it moves without resistance.
Listen for Unusual Noises: While testing, listen for any unusual noises, such as scraping or grinding sounds. These noises could indicate misalignment or other issues.
Check for Smooth Movement: Ensure that the drawer moves smoothly throughout its entire range of motion. It should open and close without hesitation or sticking.
Making Adjustments
Address Misalignment: If you notice that the drawer isn't sliding smoothly or is misaligned, you'll need to make adjustments. Here's how:
Loosen Screws: To adjust the alignment, you may need to slightly loosen the screws that secure the drawer slides to the cabinet. Be cautious not to overtighten or overtighten excessively.
Shims or Spacers: If you used shims or spacers during installation, you can make fine adjustments by adding or removing them as needed to correct misalignment.
Alignment Check: Use a level to check the horizontal alignment and a square to verify vertical alignment. Adjust the slides until they are perfectly level and square.
Test Again: After making adjustments, repeat the testing process by sliding the drawer in and out. Listen for any improved smoothness and check for any lingering issues.
Address Tight Spots: If you encounter tight spots or resistance during testing, identify the source of the problem. It could be caused by an obstruction or a misalignment.
Lubrication (if needed): If you find that the drawer slides still don't operate as smoothly as desired, consider applying a suitable lubricant or drawer slide wax to reduce friction and improve movement.
Recheck for Level and Alignment: Double-check the level and alignment of the drawer and slides after making adjustments. Ensuring they are perfectly level and aligned is crucial for optimal performance.
Final Testing: Conduct a final test of the drawer to confirm that it operates smoothly, without noise, and with full extension. Ensure that it closes securely and aligns with the cabinet.
By thoroughly testing and making necessary adjustments, you can address any issues with your drawer slides and ensure that they provide reliable and trouble-free operation. Properly functioning drawer slides enhance the overall usability of your furniture or cabinetry, making daily tasks more convenient and efficient.

Conclusion
Securing drawer slides is a fundamental step in creating functional and user-friendly cabinets and furniture. Properly installed drawer slides ensure that your drawers open and close smoothly, providing easy access to your belongings while enhancing the overall durability of your project. In this guide, we've walked you through the essential steps of preparing, choosing, installing, and testing drawer slides, ensuring that you're well-equipped to tackle this crucial aspect of your woodworking projects.
Key Takeaways:
Preparation Matters: Preparing both the drawer and cabinet by emptying, cleaning, and inspecting them sets the stage for a successful installation.
Choosing Wisely: Selecting the right drawer slides based on factors like load capacity, extension type, and design aesthetic is essential for meeting your project's requirements.
Installation Precision: Installing drawer slides requires precision in positioning, leveling, and securing them with the right tools and techniques.
Testing and Adjustment: Thoroughly testing your drawer slides and making necessary adjustments ensure that they operate smoothly and without issues.
By following the steps outlined in this guide and paying attention to detail, you can achieve a professional-quality installation of drawer slides, whether you're working on a kitchen renovation, custom cabinetry, or a DIY furniture project.
Remember that the proper installation of drawer slides not only enhances functionality but also adds value to your creations, making them more practical and enjoyable to use. So, go ahead and embark on your next woodworking project with confidence, knowing that you have the knowledge and skills to secure your drawer slides effectively and create furniture that stands the test of time.
Frequently Asked Questions
Why Are Drawer Slides So Expensive?
Drawer slides can be costly due to factors like high-quality materials, advanced features, load capacity, smooth operation, brand reputation, slide length, and installation complexity.learn more Why Are Drawer Slides So Expensive?
How to Measure Drawer Slides?
- Measure drawer length.
- Measure drawer depth.
- Measure cabinet depth.
- Calculate slide length (drawer depth + cabinet depth).
- Choose side mount or undermount slides based on your design.
- Consider load capacity for your needs.
These simplified responses provide the key information for each FAQ question. If you have further questions or need more details, please feel free to ask.How to Measure Drawer Slides?