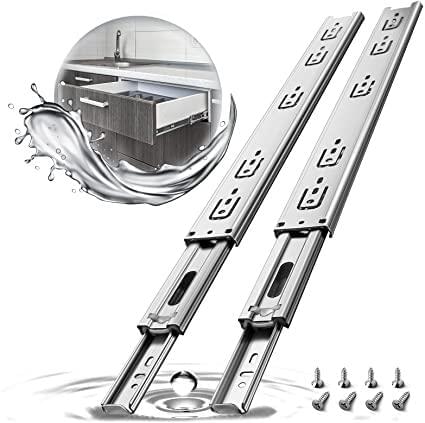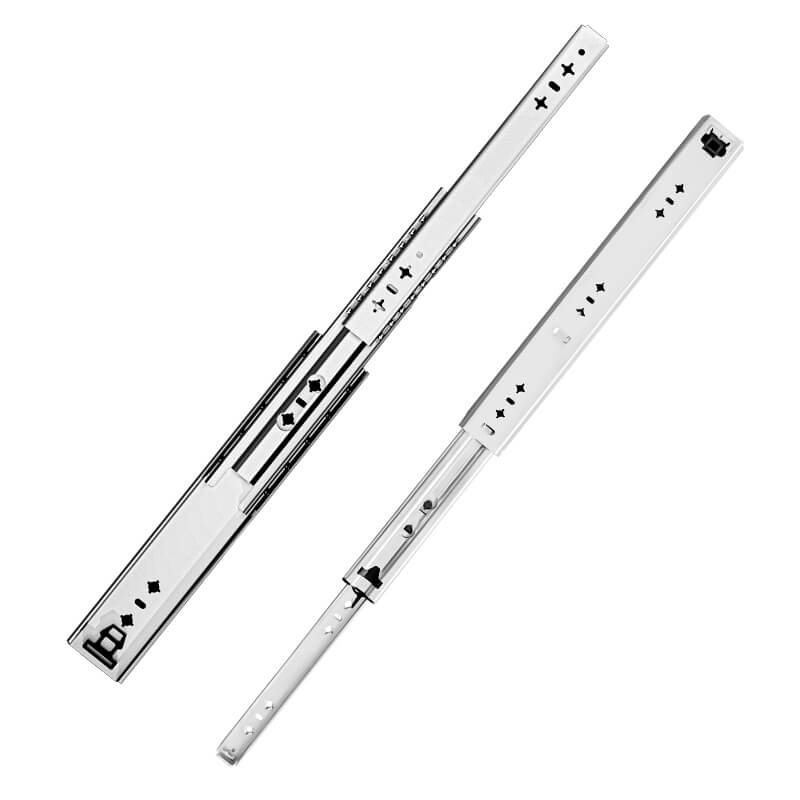


Installing locking drawer slides is a crucial step in ensuring the functionality and security of your drawers.whether you're a seasoned DIY enthusiast or new to drawer slide installations, this guide will provide you with the knowledge and confidence to tackle this project successfully. So, let's dive in and unlock the secrets to flawless installation of locking drawer slides, you'll be able to install locking drawer slides that operate smoothly and securely.ensuring functional and secure drawers that meet your specific needs.
Locking Drawer Slides Installation Video

Preparing for Installation
Before you begin installing locking drawer slides, it's essential to adequately prepare and gather all the necessary tools and materials. Here are the steps to ensure a smooth and successful installation: 1.Gather Tools and Materials:
Screwdriver: Choose a screwdriver that matches the type of screws provided with your drawer slides. It can be a Phillips head or flathead screwdriver, depending on the screw type.
Measuring Tape: Use a measuring tape to accurately measure the dimensions of your drawer and the cabinet or furniture where the drawer will be installed.
Level: A level will help ensure that the drawer slides are installed in a straight and level position.
Pencil or Marker: Use a pencil or marker to make accurate markings on the drawer and cabinet for precise installation.
Drill and Drill Bits: Depending on the instructions provided by the manufacturer, you may need a drill and appropriate drill bits for predrilling pilot holes.
Screws: Check the packaging of your locking drawer slides to determine the type and size of screws required for installation.
Read the Instructions:Carefully read the installation instructions provided by the manufacturer. Each brand and model may have specific guidelines or variations in the installation process.
Pay attention to any special requirements or considerations, such as weight capacities, recommended spacing, or additional hardware needed.
Measure and Plan:Measure the dimensions of your drawer and the cabinet or furniture where the drawer will be installed.
Consider the desired extension length of the drawer and ensure that the chosen locking drawer slides are suitable for that extension.
Take note of any obstructions or obstacles that may affect the installation or operation of the drawer slides.
Clear the Workspace:Remove any items or obstacles from the area where you will be working. This will provide you with a clear and accessible workspace.Ensure that the surfaces where the drawer slides will be installed are clean and free from dust or debris.
Safety Precautions:If necessary, use appropriate safety equipment, such as safety glasses or gloves, to protect yourself during the installation process.
By following these preparation steps, you'll have everything you need and be ready to proceed with the installation of your locking drawer slides. Proper preparation will contribute to a more efficient and successful installation process, resulting in secure and functional drawer slides.
2. Measuring and Planning
Before you begin the installation process, it's crucial to accurately measure your drawer and the cabinet or furniture where the drawer will be installed. Proper measurements will ensure a precise fit and smooth operation of the locking drawer slides. Follow these steps to measure and plan effectively:
Measure the Drawer:Start by measuring the height, width, and depth of the drawer. Use a measuring tape to obtain accurate measurements.
Measure the inside dimensions of the drawer box, excluding any face or decorative panels.
Note down the measurements for future reference during the installation process.
Measure the Cabinet or Furniture:Measure the height, width, and depth of the cabinet or furniture where the drawer will be installed. Again, use a measuring tape for accuracy.
Take into account any additional clearance needed for the drawer to slide smoothly without rubbing against the cabinet walls or other components.
Consider the extension length you desire for the drawer and ensure that the chosen locking drawer slides can accommodate that extension.
Determine Slide Placement:Based on the measurements of the drawer and cabinet, determine the optimal placement of the locking drawer slides.
Typically, the slides are positioned along the sides of the drawer and cabinet, allowing the drawer to slide in and out smoothly.
Ensure that the slides are aligned vertically and horizontally to maintain a level and balanced installation.
Marking the Mounting Holes:Once you have determined the slide placement, use a pencil or marker to mark the mounting hole locations on both the drawer and the cabinet.
Refer to the manufacturer's instructions for the recommended spacing between the mounting holes.
Doublecheck the markings to ensure they are aligned and symmetric on both sides.
By taking accurate measurements and planning the installation process, you'll have a solid foundation for a successful locking drawer slide installation. These preliminary steps will help you determine the appropriate size of drawer slides needed and ensure a proper fit within the cabinet or furniture. In the next section, we will guide you through the process of attaching the drawer slides to the drawer and cabinet, bringing you one step closer to functional and secure drawers.

3. StepbyStep Installation Process
Now that you have measured and planned for the installation of locking drawer slides, it's time to proceed with the stepbystep installation process. Follow these instructions to ensure a proper and secure installation:
Prepare the Drawer:Remove the drawer from the cabinet or furniture unit. This will provide easier access for attaching the locking drawer slides.
Clear out any items or debris from the drawer to create a clean working space.
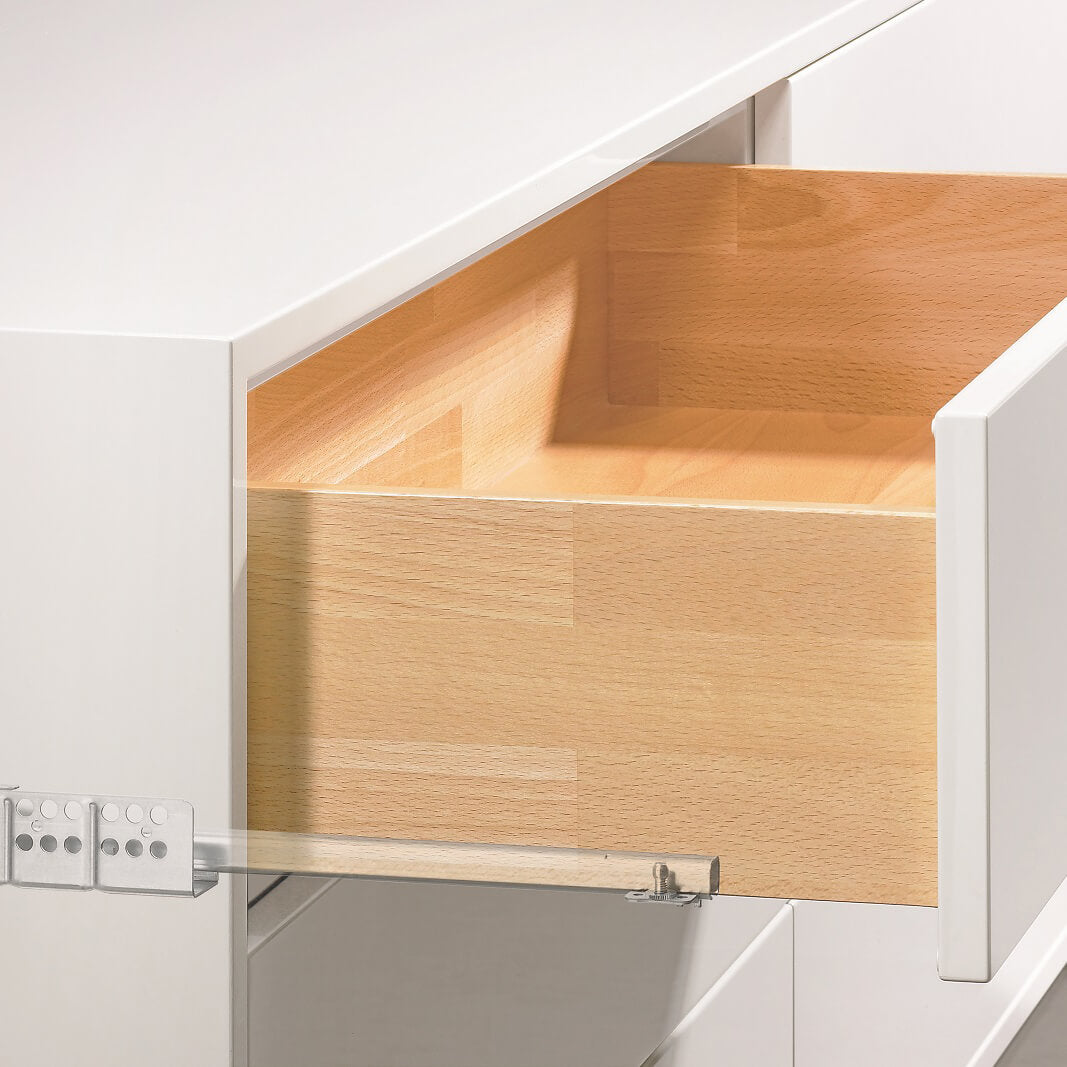
Attach the Drawer Slides to the Drawer:Position the drawer slide with the "L" or "Left" marking on the left side of the drawer, and the slide with the "R" or "Right" marking on the right side.
Align the drawer slides with the bottom edges of the drawer box, ensuring they are parallel and evenly spaced.
Use a pencil or marker to mark the screw hole locations on the drawer sides, as indicated by the predrilled holes on the slides.
Remove the slides from the drawer and predrill pilot holes at the marked locations to prevent splitting or damaging the wood.
Place the slides back on the drawer and attach them using the provided screws. Make sure the slides are securely fastened but avoid overtightening.
Prepare the Cabinet:Measure and mark the slide placement inside the cabinet or furniture unit, ensuring they align with the drawer slides attached to the drawer.
Use a level to ensure the slides are positioned horizontally and parallel to each other.
Depending on the cabinet structure and the manufacturer's recommendations, you may need to add support brackets or spacers for additional stability.
Attach the Cabinet Slides:Mark the screw hole locations on the cabinet or furniture unit, following the predrilled holes on the slides.
Predrill pilot holes at the marked locations to prevent any damage to the material.
Position the cabinet slides on the markings and attach them securely using the provided screws. Again, avoid overtightening.
Test the Drawer Slides:Carefully slide the drawer back into the cabinet, ensuring that the drawer slides align and engage with the cabinet slides.
Test the sliding action of the drawer to ensure it moves smoothly without any obstructions or excessive friction.
If necessary, make any adjustments to the slide positioning or alignment to achieve optimal performance.
Repeat the testing process multiple times to ensure consistent and smooth operation.
Secure the Slides:Once you are satisfied with the sliding action and alignment, secure the locking drawer slides by tightening all the screws. Ensure they are firmly in place, but again, avoid overtightening.
By following these stepbystep instructions, you will successfully install locking drawer slides and achieve secure and functional drawers. Remember to consult the manufacturer's instructions specific to the locking drawer slides you are using, as they may provide additional guidelines or recommendations. In the next section, we will discuss testing and adjusting the slides to ensure optimal performance.
4.Testing and Adjusting the Slides
After the installation of locking drawer slides, it's crucial to test and adjust them to ensure smooth and reliable operation. Proper testing and adjustment will help identify any issues or misalignments that need to be addressed. Follow these steps to effectively test and adjust your locking drawer slides:
Test Sliding Action:Slide the drawer in and out multiple times to test the smoothness of the movement.Pay attention to any signs of friction, sticking, or misalignment during the sliding process.
Observe if the drawer slides open and close effortlessly without any resistance or jamming.
Check for Level and Alignment:Use a level to ensure that the drawer is horizontally aligned when fully closed and fully extended.
If the drawer is not level, adjust the position of the slides by loosening the screws slightly and gently tapping the slides up or down until the drawer is level.
Retighten the screws once the desired level and alignment are achieved.
Adjust SidetoSide Movement:If you notice excessive sidetoside movement or wobbling when the drawer is fully extended, it may require adjustment.
Loosen the screws on the slide attached to the drawer and slightly shift the slide left or right to minimize the movement.
Test the drawer again to ensure that the sidetoside movement is minimized, while still allowing smooth sliding.
Evaluate Locking Mechanism:Engage the locking mechanism of the drawer slides according to the manufacturer's instructions.
Test the effectiveness of the lock in drawer slides by attempting to pull the drawer open with force.
Ensure that the lock securely holds the drawer in place and prevents unintended opening.
Adjust the Slide Rail:If necessary, make further adjustments to the slide positioning to optimize the performance.
Take note of any specific areas where the drawer slides may require minor modifications for improved functionality.
Continue testing and adjusting until you are satisfied with the overall performance of the locking drawer slides.
Lubricate the Slides (Optional)For smoother operation and prolonged durability, consider applying a lubricant specifically designed for drawer slides.
Follow the manufacturer's recommendations regarding the type of lubricant and application method.
By thoroughly testing and adjusting your lock in drawer slides, you can ensure optimal functionality, smooth sliding action, and reliable security. Regularly check and maintain the slides to keep them in excellent working condition. In the next section, we will discuss common troubleshooting tips for addressing any issues that may arise during the use of locking drawer slides.

5.Troubleshooting Tips
While installing locking drawer slides, you may encounter some common issues that can affect their performance. Here are some troubleshooting tips to help you address these issues and ensure the smooth operation of your locking drawer slides:
Misalignment:If the drawer is not sliding smoothly or feels misaligned, check for any obstructions or debris that may be interfering with the slides.Ensure that the slides are aligned horizontally and vertically. If needed, adjust the slide positioning to achieve proper alignment.
Make sure the mounting screws are tightened securely but not overtightened, as this can cause misalignment.
Uneven Sliding:If the drawer slides unevenly or at an angle, it may indicate an issue with the alignment of the slides.
Check that the slides are mounted parallel to each other and that the drawer is properly aligned within the cabinet.
Adjust the slide positioning or reposition the drawer to achieve even sliding.Sticking or Jamming:If the drawer is sticking or jamming during operation, examine the slides for any debris or obstructions that may be causing friction.
Clean the slides thoroughly and remove any obstacles that could impede smooth sliding.
Apply a lubricant designed for drawer slides to reduce friction and improve the sliding action.
Insufficient Locking:If the locking mechanism does not securely hold the drawer in place, check for any misalignment or issues with the locking components.
Ensure that the slides are properly engaged and that the locking mechanism is fully activated.
If necessary, adjust the slide positioning or tighten any loose screws to improve the locking function.
Weight Capacity:If the drawer slides are not adequately supporting the weight of the contents, check the weight capacity rating of the slides.
Verify that the weight of the items stored in the drawer does not exceed the recommended limit specified by the manufacturer.
Consider upgrading to highercapacity locking drawer slides if needed.
Drawer Not Closing Properly:If the drawer does not close fully or align properly with the cabinet, check for any obstructions or misalignment.
Ensure that the slides are securely attached to both the drawer and the cabinet, and that the screws are tightened appropriately.
Adjust the slide positioning or reposition the drawer to achieve proper closure.
Consult the Manufacturer:If you encounter persistent issues or are unsure how to address a specific problem, consult the manufacturer's instructions or contact their customer support for further assistance.
Manufacturers often provide troubleshooting guides or knowledgeable support to help resolve any installation or performancerelated issues.
Summarize
By carefully following these steps and troubleshooting tips, you can successfully install locking drawer slides and enjoy the benefits of secure and smoothly operating drawers. Regular maintenance and care will further enhance the longevity and performance of your locking drawer slides. With proper installation and ongoing upkeep, you can optimize the functionality of your drawers and enhance your overall organizational experience.
Locking Drawer Slides People also ask
How to Pick Locking Drawer Slides?
By considering these tips when choosing lockable drawer slides, you can make an informed decision that meets your specific requirements
How to Care for Locking Drawer Slides?
To ensure the longlasting performance of your locking drawer slides and optimize their functionality, regular maintenance and proper care are essential.
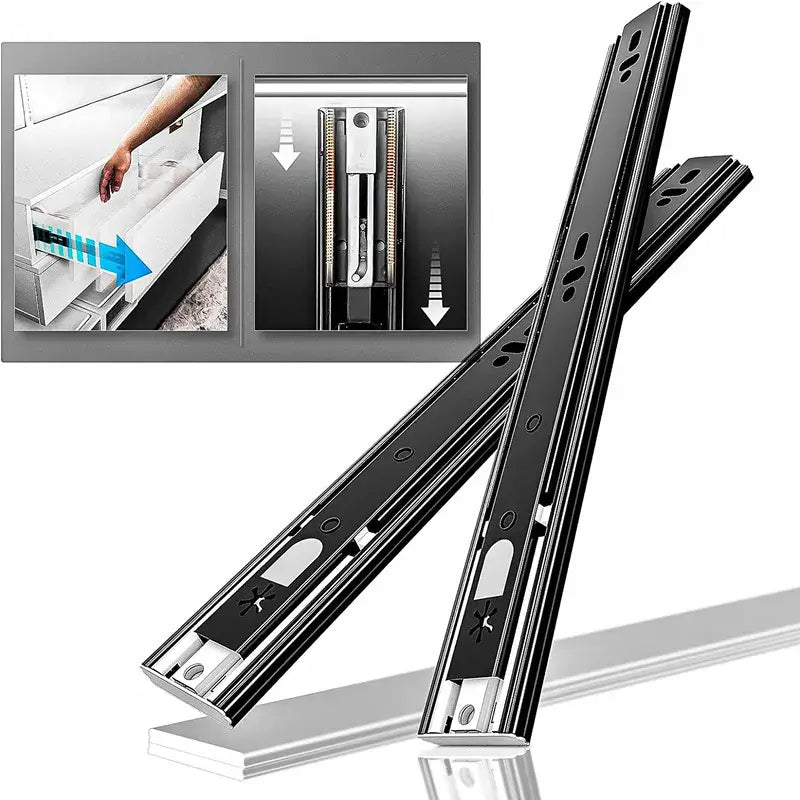
Does these lock while drawer is closed and pulled out?
Lock when the drawer is closed and when the drawer is fully opened。
Can the lock be removed?
NO, the lock handle is fixed by rivets and cannot be disassembled, but the third track can be disassembled. Press the lock handle to unlock the position and pull it out.
Seems these lock when closed, halfway open, and full open. Does that mean you only need to hold switch at start and middle?
You will only need to engage the latches to unlock. While the drawer is sliding you will not need to apply continuous engagement on the latches. You will need to engage them to open to mid point, to open from mid point to fill open, to close from full open to mid point and to close from mid point to full close.